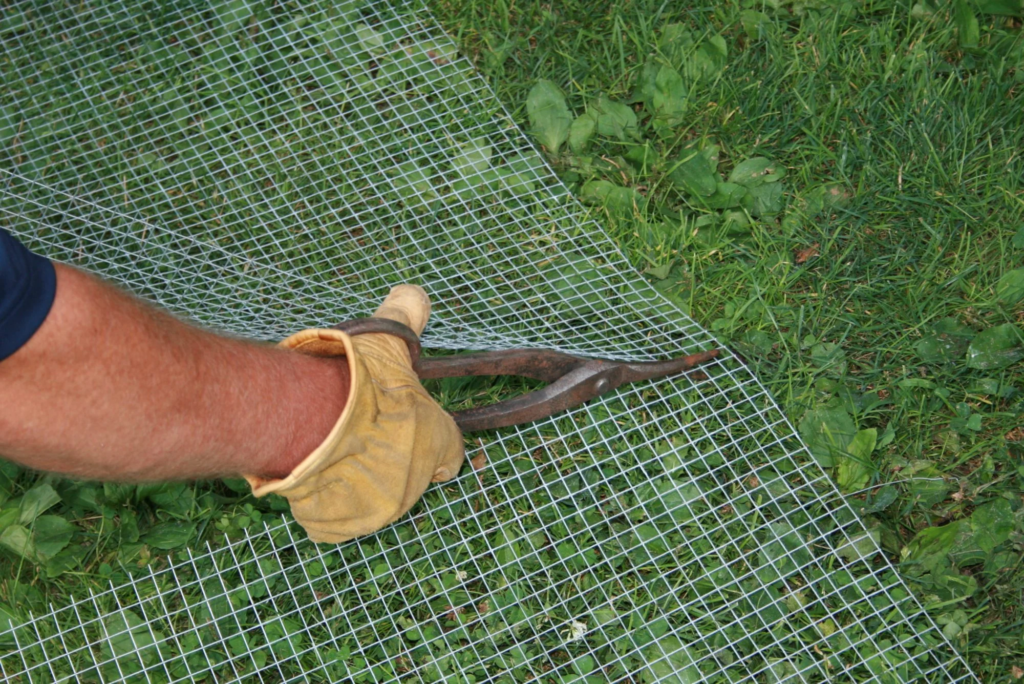
Hardware cloth, also known as wire mesh or wire netting, is a versatile material commonly used in various DIY projects, construction, gardening, and animal enclosures. While hardware cloth is durable and sturdy, cutting it to the desired size or shape may seem daunting for those unfamiliar with the process. However, with the right tools and techniques, cutting hardware cloth can be a straightforward task. In this comprehensive guide, we’ll explore the step-by-step process of cutting hardware cloth effectively and safely.

Understanding Hardware Cloth
Before we dive into the cutting process, let’s familiarize ourselves with hardware cloth:
What is Hardware Cloth?
Hardware cloth is a woven wire mesh made from galvanized steel or other metals. It features small, uniformly spaced openings, typically ranging from 1/8 inch to 1/4 inch, which make it ideal for various applications, including fencing, screening, and pest control.
Common Uses of Hardware Cloth:
- Building animal cages and enclosures
- Protecting gardens from pests
- Creating barriers for small animals and rodents
- Reinforcing structures and frames
Tools and Materials Needed
Before you begin cutting hardware cloth, gather the following tools and materials:
- Hardware Cloth: Choose the appropriate size and gauge of hardware cloth for your project.
- Measuring Tape: Use a measuring tape to determine the dimensions for cutting.
- Marker or Chalk: Mark the cutting lines on the hardware cloth for accuracy.
- Wire Cutters: Select heavy-duty wire cutters capable of cutting through the gauge of your hardware cloth.
- Work Gloves: Wear work gloves to protect your hands from sharp edges and prevent injury.
Step-by-Step Guide to Cutting Hardware Cloth
Follow these steps to cut hardware cloth accurately and safely:
Step 1: Measure and Mark
Use a measuring tape to determine the dimensions needed for your project. Mark the cutting lines directly onto the hardware cloth using a marker or chalk. Ensure your measurements are precise to avoid errors during cutting.
Step 2: Secure the Hardware Cloth
Place the hardware cloth on a flat, stable surface, such as a workbench or sawhorse. Use clamps or heavy objects to secure the hardware cloth in place and prevent it from shifting during cutting.
Step 3: Cut Along the Marked Lines
Using wire cutters, carefully cut along the marked lines on the hardware cloth. Apply steady pressure and make clean, straight cuts to ensure accuracy. For longer cuts, you may need to make multiple passes with the wire cutters.
Step 4: Trim Any Excess Wire
After cutting along the marked lines, inspect the edges of the hardware cloth for any protruding or uneven wires. Use wire cutters to trim any excess wire and create smooth, uniform edges.
Step 5: Check for Sharp Edges
Run your fingers along the cut edges of the hardware cloth to check for any sharp or jagged edges. If necessary, use a file or sandpaper to smooth out any rough spots and prevent injury.
Safety Tips
- Wear safety goggles to protect your eyes from flying debris.
- Use caution when handling wire cutters, as they can cause injury if mishandled.
- Keep fingers and hands away from the cutting area to avoid accidental cuts or pinches.
Conclusion
Cutting hardware cloth is a straightforward process that can be accomplished with the right tools and techniques. By following the step-by-step guide outlined in this article and adhering to safety precautions, you can cut hardware cloth accurately and safely for your DIY projects. Whether you’re building animal enclosures, reinforcing structures, or protecting your garden, mastering the art of cutting hardware cloth will enable you to tackle a wide range of projects with confidence and precision.
Also read: How To Make Oak Kitchen Cabinets Look Modern


